Bible-artCall (737) 522-2774

Countertop Installation in Round Rock, TX

New Countertops for Round Rock Kitchens, Step by Step

Countertop installation in Round Rock, TX

Quartz, granite, marble, and quartzite counters measured, fabricated, and installed the right way. Free in-home estimates across Round Rock and Williamson County.

  • Free in-home measure
  • Laser templating
  • Licensed and insured

Install Journal

Step-by-step looks at how a countertop job unfolds, from the first measurement to the final sealed seam.

What Hard Water Does to a Countertop, and the Installation Details That Make It Worse

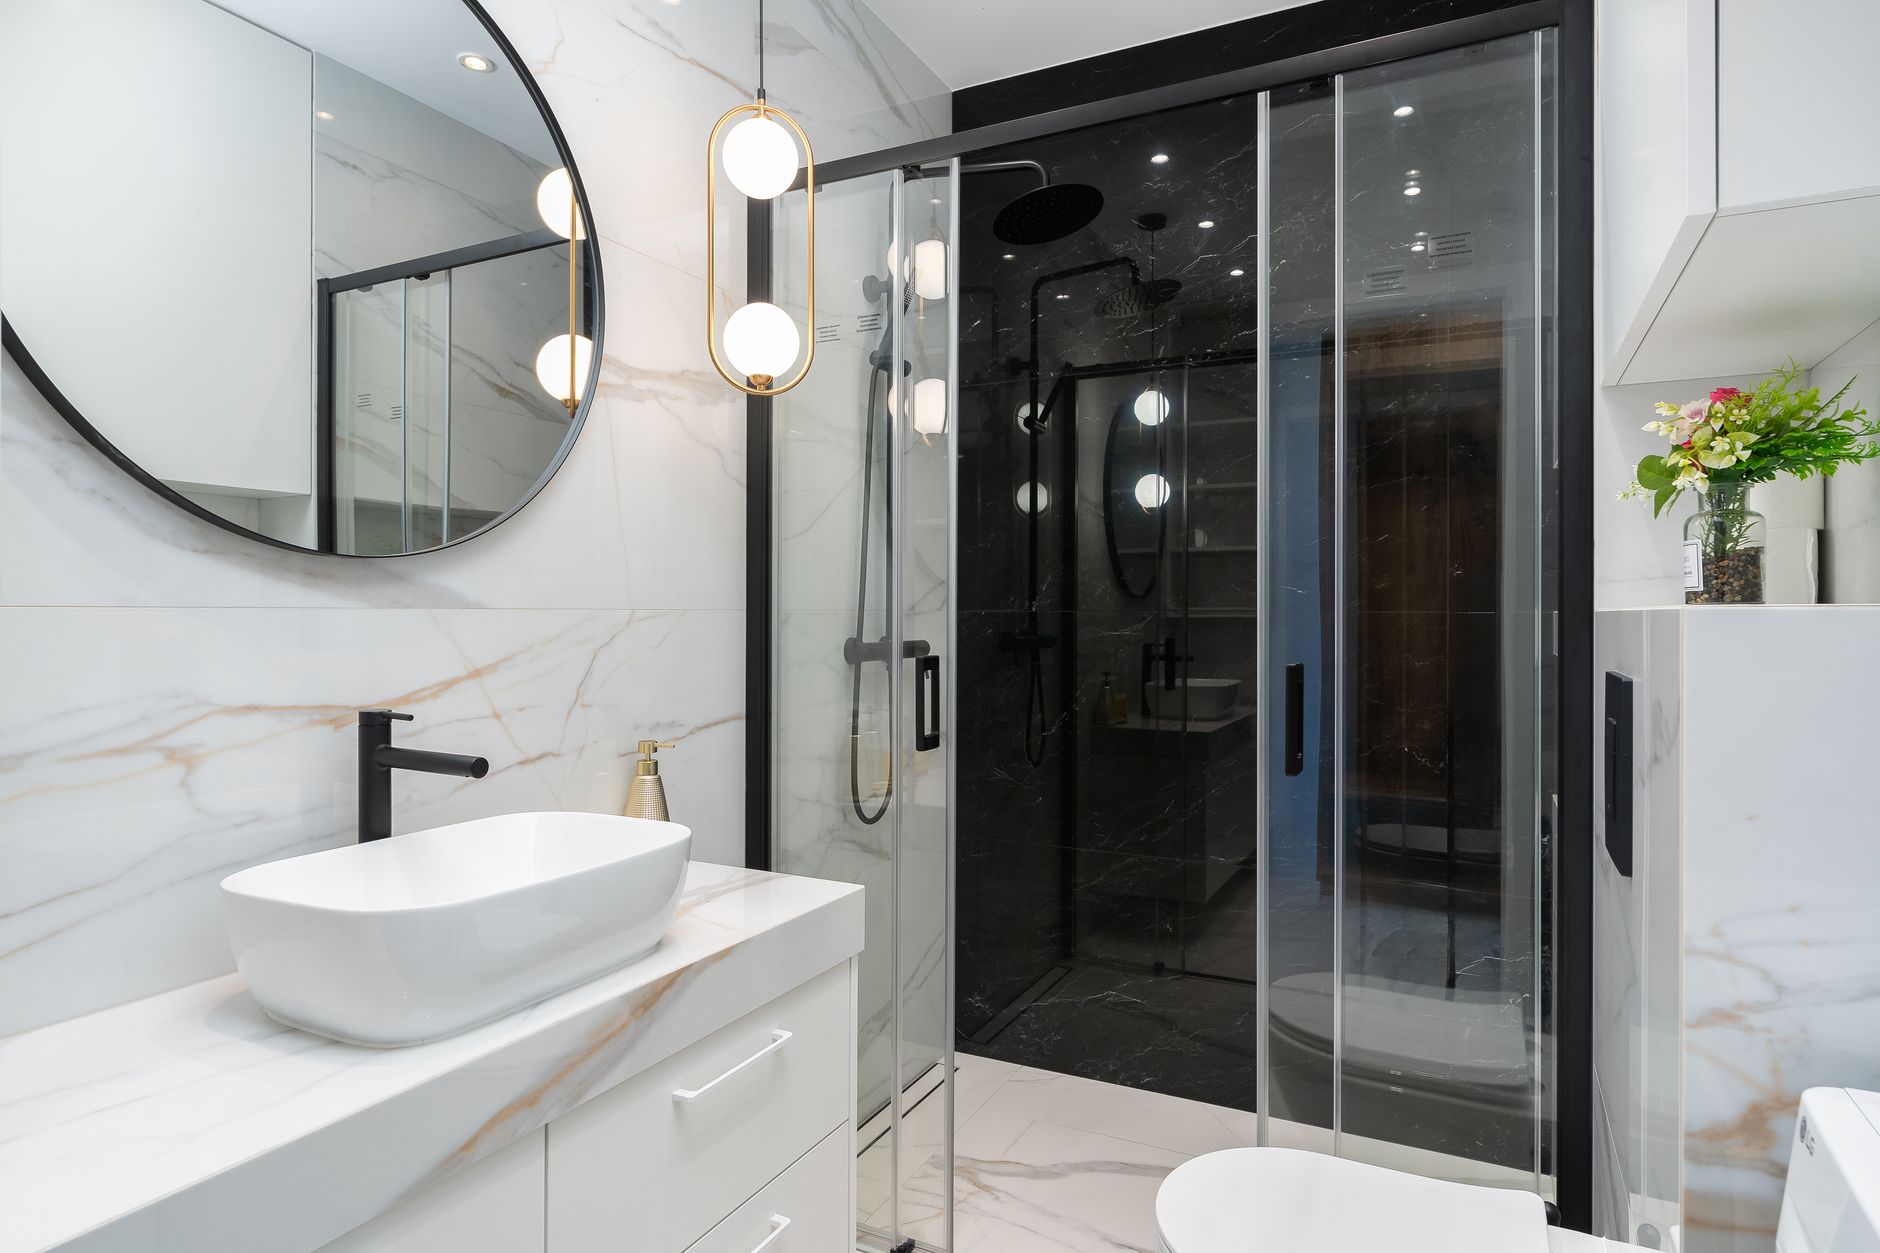
Sleek modern bathroom featuring a marble countertop, stylish circular mirror, and elegant lighting in Round Rock, TX

Central Texas water is hard. Depending on the supply and the season, it carries a substantial load of dissolved calcium and magnesium, and every drop that dries on a kitchen surface leaves that mineral behind. Nobody notices for the first few months. Then one morning the area around the faucet looks permanently dull, a cloth does nothing to it, and the assumption is that the stone has been damaged.

Usually it has not. What is sitting there is scale, a hard mineral crust bonded to the surface, and it is a deposit problem rather than a stone problem. The distinction matters because the two have opposite solutions. Damage to the surface has to be polished or repaired. A deposit has to be dissolved. Attacking a deposit with abrasives is the single most common way people turn a cosmetic nuisance into permanent etching.

What is actually on the surface

Hard water carries minerals in solution. When the water evaporates, the minerals stay. The first few cycles leave a film thin enough to wipe away. Left alone, each cycle adds to the last, and the deposit hardens into something closer to a thin layer of limestone bonded to whatever it dried on.

Two other things ride along with it. Soap reacts with the calcium in hard water to form soap scum, which is greasy rather than crusty and needs a different approach. And in some homes the deposit carries a faint orange tint from iron in the supply, which stains rather than simply sitting on top.

Where the deposit builds is predictable. Behind and around the faucet base, where drips land and are never wiped. Along the front edge of the sink rim. In the low spot of any surface that is not perfectly flat, because that is where water collects. And on the drainboard side, where dishes are set down wet.

Why the surface material changes the answer

Engineered quartz is roughly nine parts crushed stone bound in about one part polymer resin, and it is not porous. Nothing soaks in. That is genuinely useful here, because it means a hard water deposit is always sitting on top and can always be removed if you use the right thing on it. What quartz will not tolerate is a strong acid or a strong alkali, both of which attack the resin and leave a dull patch that no amount of further cleaning brings back.

Granite is porous to a degree and is normally sealed. Scale sits on the surface in the same way, but the sealer underneath is the thing at risk. Repeated acid cleaning strips it, and once it is gone the stone starts absorbing whatever is spilled on it.

Marble and limestone are calcium based, which puts them in a different category altogether. An acid does not just remove the deposit, it dissolves the surface itself, leaving a dull ring in exactly the shape of the thing that removed the scale. On these materials, acid is never the answer.

Porcelain and sintered surfaces are the most chemically indifferent of the common choices and handle descaling with the least fuss.

Knowing which of those four groups you are standing in front of settles almost every cleaning question that follows.

The removal that works, in the order to try it

Start with the mildest thing that could possibly work and escalate only if it fails. This is not caution for its own sake. Every step up carries a risk the step below does not.

Warm water and time. A cloth soaked in hot water and laid over the deposit for ten minutes softens a young film enough that it wipes off. Surprising numbers of people never try this and go straight to a scouring pad.

A dedicated stone safe cleaner. These are pH neutral and are formulated to lift mineral film without touching sealer or resin. On a surface that gets wiped weekly, this is all that is ever needed.

Dilute white vinegar, on granite or quartz only, and briefly. Vinegar is a mild acid and it dissolves calcium deposits properly. On sealed granite or on engineered quartz, a short contact of a minute or two followed by a thorough rinse will clear a stubborn ring. Do not leave it sitting, do not use it neat, and do not use it at all on marble, limestone or travertine. If you are unsure which you have, skip this step.

A plastic scraper, held flat. For a thick crust, softening with warm water and then working a plastic putty knife almost parallel to the surface removes the bulk without abrading anything. Never a metal blade, never a scouring pad, never a powdered abrasive cleanser.

The two products to keep away from the kitchen entirely are bathroom limescale removers, which are far more aggressive than anything a countertop needs, and bleach based sprays, which do nothing to mineral deposits and gradually dull the resin in engineered surfaces.

The details set at installation that decide how much of this you live with

Some of the hard water burden is decided long before the first glass of water is poured.

The faucet base is the biggest single factor. A deck mounted faucet sitting in a hole in the stone creates a rim where water pools and never dries. A single hole faucet with a tight escutcheon leaves far less standing water than a widespread set with two additional handle bases and a sprayer hole. Every hole is another rim, and every rim is another scale ring.

The reveal at the sink matters almost as much. A negative reveal, where the stone overhangs the sink slightly, lets water wipe straight into the bowl. A positive reveal, where a lip of sink rim is exposed, leaves a ledge that holds water against the stone edge. Both are legitimate choices for other reasons, but they behave differently here.

Sealing is the third. On granite, an impregnating sealer applied at installation and refreshed when a water drop stops beading makes deposits sit on top rather than working into the surface. It is a fifteen minute job once or twice a year.

Finally, how flat the run is decides where water goes. A surface with a slight dip holds a puddle, and a puddle that dries in place is a deposit every time. This is the kind of thing that is easy to correct during the install and effectively impossible afterwards.

Softeners and filters, and what each one actually does

A whole house softener exchanges the calcium and magnesium for sodium, which does not form scale. It is the only thing on this list that stops the deposit forming rather than making it easier to remove, and households on particularly hard supplies notice the difference on glassware, fixtures and appliances long before they notice it on the counter.

A point of use filter at the tap improves what you drink and does very little for what dries on the surface, because most kitchen water lands there from washing rather than from the drinking tap.

Neither is necessary to keep a surface looking right. A cloth and thirty seconds a day does the same job. The softener simply means the thirty seconds is optional rather than required.

The routine that prevents almost all of it

Wipe the area around the faucet dry at the end of the day. That single habit prevents more scale than every cleaner in the cupboard combined, because the deposit only forms where water is allowed to evaporate in place.

Once a week, clean the whole surface with warm water and a pH neutral cleaner, then dry it rather than leaving it to air dry. Air drying is what put the film there in the first place.

Twice a year, check the sealer if the material calls for one, and look specifically at the faucet base and the sink rim, which are always the first places to show a problem.

If a dull patch has already appeared and none of the above shifts it, stop before reaching for anything stronger. At that point the question is whether it is a deposit or etching, and those are answered differently. A deposit can be felt as a slight roughness under a fingertip. Etching is perfectly smooth and simply looks dull. The first is a cleaning job. The second needs a professional polish, and no amount of scrubbing will improve it.
Read the full article

What Really Happens During a Round Rock Countertop Install

Step-by-step countertop installation in Round Rock, TX

A new countertop feels like a big project, but it is really a short, orderly sequence of visits. When you know what happens on each day, the whole job stops feeling like a gamble and starts feeling like a plan. Here is how a typical Round Rock install unfolds, from the first knock on the door to the last wipe of the sealer.

Day One: The Measure and the Estimate

The first visit is quick, usually under an hour. We look at your cabinets, check that the boxes are level, and note where the sink and cooktop land. In an older kitchen off Chisholm Trail Road, we also watch for walls that have drifted out of square over the years. Before we leave, you get a written estimate. There is no charge for the visit and no pressure to book on the spot.

Choosing the Slab

Between the measure and the template, you settle on a material. This is the fun part, and it is where the look and the upkeep get decided. If low maintenance matters most, quartz countertops never need sealing. If you want natural, one-of-a-kind character, granite countertops deliver it. We help you weigh both against how you actually cook.

Templating Day

Once the material is picked, we return to template the space, usually with a laser. The digital template captures the real conditions, including any settle in the cabinets, so the finished top fits tight instead of leaving gaps. That template goes straight to the shop, which is why precision here saves headaches later.

In the Shop: Cutting and Edging

The middle of the week happens without you. In the shop, the slab is cut to the template, the sink opening is carved, and your chosen edge profile is ground and polished. Seams are planned to fall in the least visible spots. This stage is why the install itself goes so fast: the hard cutting is already done.

Install Day and the Final Seal

The last visit is the payoff. We set the tops, join and color-match the seams, secure the sink, and seal natural stone if you chose it. A standard kitchen near Wyoming Springs Drive is usually finished in a single day, and we protect your floors and cabinets the whole time. Before we go, we walk you through simple care so the counter looks new for years.

That is the entire arc, five steps from measure to seal, with one Round Rock crew on the job the whole way. Ready to start yours? Contact us or call Bible-art at (737) 522-2774 for a free in-home measure.

Read the full article

Bible-art provides countertops installation in Round Rock, TX, and we run every job as a clear sequence of steps rather than one big unknown. We fabricate and install quartz, granite, marble, quartzite, butcher block, solid surface, and laminate, cutting each top for your sink, your edge profile, and your backsplash. When a homeowner in Teravista or Forest Creek calls, the first thing we do is set a walkthrough that carries the kitchen from a rough idea near Gattis School Road to a finished, sealed counter.

A countertop install is really five moves in order. First we come out and measure, then we help you settle on a slab, then we template the space with a laser, then we fabricate the material in the shop, and finally we set and seal the tops in your home. Knowing that order up front takes the guesswork out of the project. Most Round Rock kitchens move from the first measure to a finished install inside a week, and we tell you the real dates rather than a vague window.

Here is what the days actually look like. On measure day we spend under an hour checking cabinets, walls, and sink placement, and we hand you a written estimate before we leave. A few days later, once you have picked your material, we return to template, and the digital template goes straight to fabrication. Cutting, edging, and polishing a slab takes the middle of that week. Install day is the payoff, and a standard kitchen off A.W. Grimes Boulevard is usually done in a single visit, seams and all.

New counters change the whole feel of a kitchen, and they are one of the first upgrades buyers notice in the 78664 market. That is why we template for the real conditions instead of ideal ones, seal natural stone properly, and finish every seam so the job looks original to the house. Bible-art keeps one local crew on your project from the measurement on Red Bud Lane to the final wipe-down, so nothing gets lost in a handoff.

  • One crew, start to finishThe same Round Rock team measures, templates, and installs, so no detail slips between visits.
  • Laser-precise templatingA digital template captures out-of-square walls and settled cabinets for a tight, gap-free fit.
  • Clear written estimatesThe number we quote after the measure is the number you pay, itemized before any cutting begins.
  • Licensed and insuredA licensed, insured local crew, glad to share current details on request.

Communities Around Round Rock We Reach

We install countertops throughout Round Rock and the surrounding Williamson County towns, from the newer master-planned neighborhoods to the older streets near downtown.

  • Round Rock, TX (78664, 78665, 78681)
  • Georgetown, TX
  • Pflugerville, TX
  • Cedar Park, TX
  • Hutto, TX
  • Taylor, TX
  • Leander, TX

Not sure we reach your street? Call (737) 522-2774 and we will tell you right away.

The Slabs We Work With and Why It Matters

The material you choose sets the look, the upkeep, and the price of the whole job. Here are the surfaces we fabricate and install, and where each one shines.

  • Quartz Countertops

    Engineered quartz resists stains and scratches, never needs sealing, and comes in a wide run of colors and patterns. It is the low-maintenance favorite for busy Round Rock kitchens.

  • Granite and Natural Stone

    Every granite slab is one of a kind, with its own movement and grain. Sealed on install day, it stands up to heat and daily use for decades.

  • Marble and Quartzite

    Marble brings a classic, soft-veined look, while quartzite offers similar beauty with more scratch resistance. Both are premium picks we seal to protect.

  • Butcher Block and Solid Surface

    Warm wood butcher block and seamless solid surface add a softer, more natural feel to islands and prep zones.

  • Sinks and Edge Profiles

    Undermount and drop-in sink cutouts plus a full range of edges, from an eased edge to a bullnose or ogee, cut to match your style.

  • Backsplashes and Islands

    Full-height and standard backsplashes, waterfall island tops, breakfast bars, and overhangs, all cut and fit to line up with the counter.

Common Questions About the Process

What are the steps in a countertop install?
Five in order: an in-home measure, help choosing your slab, a laser template of the space, fabrication in the shop, and the install where we set and seal the tops. Knowing the sequence up front keeps the project predictable.
How long does the whole project take?
Most Round Rock kitchens run about a week from the first measure to install day. The template goes to fabrication, cutting and polishing take the middle of the week, and the install itself is usually finished in a single day.
What happens on measure day?
We spend under an hour checking your cabinets, walls, and sink placement, then hand you a written estimate before we leave. There is no charge and no pressure to book.
Quartz or granite: which should I pick?
Quartz resists stains and scratches and never needs sealing, so it is the lower-maintenance choice. Granite is natural stone with unique character and needs occasional resealing. We help you weigh both for how you cook.
Do you handle the sink and backsplash?
Yes. We cut for undermount or drop-in sinks and install matching backsplashes as part of the same job, so everything lines up.
Do you serve my area?
We cover Round Rock ZIP codes including 78664, 78665, and 78681, plus Georgetown, Pflugerville, Cedar Park, Hutto, Taylor, and Leander.

Where the Money Goes on an Install

Most of the cost on a countertop job comes down to the material and the square footage, and the rest is in the details. Laminate is the budget pick, quartz and granite sit in the popular middle, and marble and quartzite run higher. Sink cutouts, edge upgrades, and backsplashes add to the total. The ranges below are typical for the Round Rock area, and we put the firm number in writing after a free in-home measure.

Laminate$25 to $50 per sq ft installedQuartz or granite$55 to $110 per sq ft installedMarble or quartzite$90 to $175 per sq ft installed
  • Most budget friendly
  • Dozens of colors and looks
Get estimate
  • Durable and low maintenance
  • Templated and installed to fit
Get estimate
  • Premium natural stone
  • Sealed for lasting protection
Get estimate

Schedule Your Measurement

Ready to start? The first step is a free in-home measure. We check your space, walk you through materials and edges, and give you a clear written estimate with no pressure. From that measurement near Old Settlers Boulevard to the final sealed seam, one Round Rock crew handles the whole job.